1.3" LCD Display Rendering in Go
Adventures in starting a hardware company

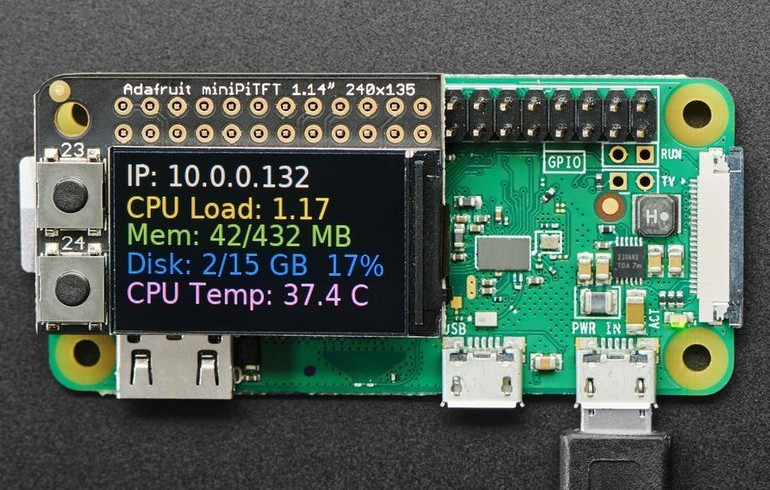
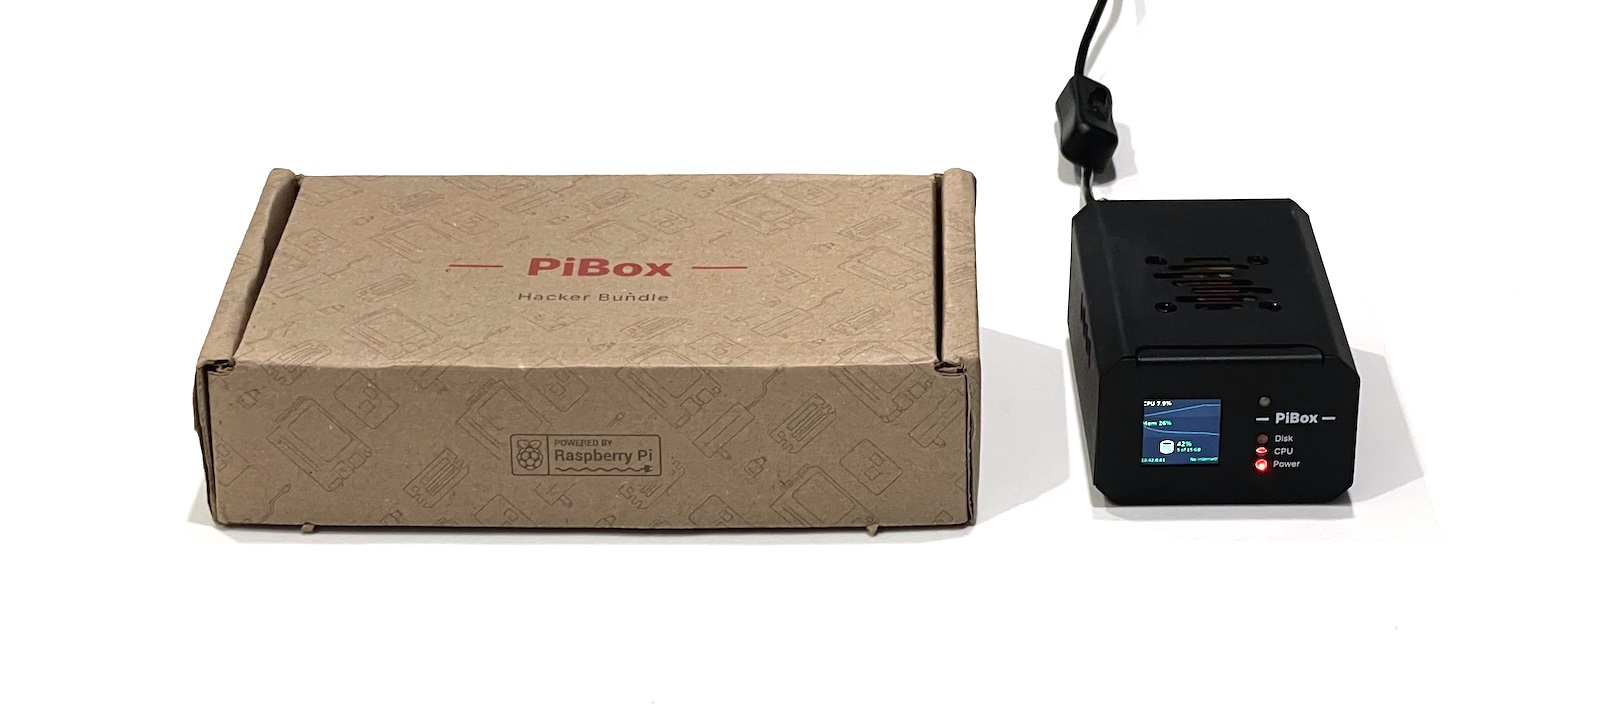
The first several prototypes of the PiBox actually didn't have a display — getting the SATA chip working reliably was the first priority. But unable to sleep one night, I was thinking about fun components I could add to the device and remembered a recent video I saw from Michael Klements in which he had a tiny OLED screen showing IP addresses, CPU, and memory usage. If you've ever set up a Raspberry Pi, you'll know how frustrating it is to find its IP address when you don't have a monitor handy. Adding these same stats to the PiBox seemed like a fantastic idea. Sourcing the screens and figuring out how to attach them to the circuit boards was its own separate challenge, which I'd love to cover in a future blog post. But today I'm going to focus on the code that powers the screen.
Starting with Python
Adafruit is where I got the inspiration for adding the 1.3" display to the PiBox, and they have a great tutorial on showing some basic stats with Python. It's a fantastic starting point, but this code often uses as much as 30% of the PI's CPU! Because we want to leave as much CPU available for running other apps, our goal with this rewrite is to minimize resource usage.

In looking for faster alternatives, the beginning of the Adafruit tutorial has some clues. It describes two ways to interact with the display:
The easy way is to use 'pure Python 3'. The hard way is to install a kernel module to add support for the TFT display that will make the console appear on the display.
Ahh, a hard way you say? I wasn't yet familiar with framebuffers, but this sounded like a lower level way to draw images to the screen. After some research and testing, I was able to use the program
fbi to draw images to the screen. It was as simple as fbi image.png -d /dev/fb1Finding a Python replacement
Going for performance and a simple static binary, a compiled language seemed like a must, so I started searching for a suitable library. This lightweight Go library came up quickly. From their description:
The framebuffer library was created to have an easy way to access the pixels on the screen from the Raspberry Pi. It memory-maps the framebuffer device and provides it as a draw.Image (which is itself an image.Image). This makes it easy to use with Go's image, color and draw packages.
Perfect, even Pi specific! I had been wanting a good reason to learn Go anyway. There are a few reasons we don't use Go on the backend of kubesail.com. But that will also have to be its own blog post.
A simple example of using the
gonutz/framebuffer library:Compiling this example leaves us with a tiny 1.6MB binary that uses about 1MB of memory - Perfect!
Adding some features
Seandon and I brainstormed some initial ideas on features we needed in this binary:
- Lightweight
- Independent of Kubernetes
- Ability to draw draw arbitrary images
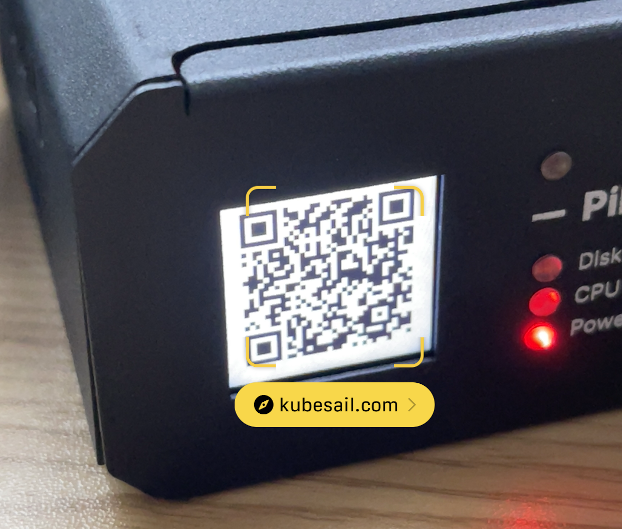
- Ability to draw QR codes for initial setup
- Ability to turn the backlight on the display on / off
- An API to control all of these features externally
Given our 1.6MB binary, we achieved something super lightweight. ✅ And as much as we love Kubernetes, we wanted to operate outside of it here because we need to render images early in the boot cycle. We also need the ability to alert the user if Kubernetes isn't able to start properly. A static binary also checks this box ✅
Drawing QR Codes
The next day I did some research on adding QR Code support. Naturally, there's also a lightweight Go QR code library. Wiring this up took a bit of digging, as their docs only explain how to render an image out to a PNG.
But inside the Encode method of this library, we see it just calls
q, err := New(content, level) and then return q.PNG(size). Similarly, inside the PNG method, we see it convert the QR code object into a standard Go Image, set up a new PNG encoder, and encode the image. We can now just skip the step of converting to PNG, and draw the Go Image directly to the framebuffer. All together:Controlling Backlight
My first instinct was to simply wrap the Go binary in a script, and use the bash commands to turn on the backlight before launching the renderer. But since the backlight is controlled directly via a GPIO pin on the Pi, I figured it'd be worth seeing how easy it was to drive it directly in Go. This could give us control over the backlight via a web API route. And of course, there's a very simple but mature Golang Raspberry Pi GPIO library!
This executes when the program starts up. Simple enough for now! We can add a route later to toggle this pin if someone asks for a way to turn their PiBox into stealth mode on demand :)
CPU & Memory Charts
Displaying time-series charts of the CPU and Memory usage seemed like a great use for the display. If we were running a full PC / monitor, I'd turn on Grafana's kiosk mode and call it a day. But this requires a web browser and some other compute-heavy processes to be running. Fortuantely we came across this wonderful Go based prometheus renderer. We even made requests to this library from our Python code during our prototype phase. We haven't yet implemented time-series charts in this framebuffer code, but given how easy it was to pull in the QR library, we expect the same here.
Future improvements
Currently this is just enough to display a QR code on the screen to make it easy to setup a new PiBox. Enabling arbitrary text rendering is next, and Stack Overflow already has a detailed answer on how to handle that.
Because we exposed each method as an HTTP API, any installed app (including the kubesail agent) can now communicate with the PiBox's screen, so that we can enable fun things like:
- Show health information like metrics from Prometheus
- Show installed Kubernetes apps
- Notify the user of app-specific information
- Play animations during boot-up or app installation, etc
- Enable our users to customize their display
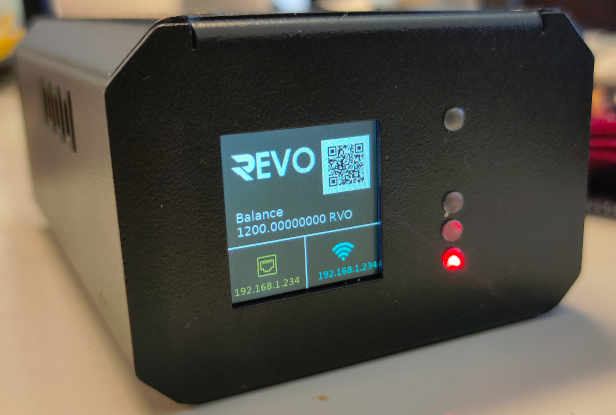
As a demo of what's possible, our friends over at revo.network have customized the display on their prototype PiBoxes to show wallet information:

Build Your Own Display Renderer
All of this code is available on GitHub, and we happily accept contributions! If you want to pick up a PiBox to test it on, you can order one now. It arrives loaded with everything you need to self-host apps at home. New orders are estimated to ship in July.

Stay in the loop!
Join our Discord server, give us a shout on twitter, check out some of our GitHub repos and be sure to join our mailing list!
