MicroK8s on the Raspberry Pi 4
Setting up my media, backup, and game servers from scratch in 4 minutes
When the Raspberry Pi 4 was announced last summer, I was shocked at the specs. It packs a 1.5GHz processor, Gigabit ethernet, USB 3.0 ports, and up to 4GB RAM. After getting my hands on one, I had to see if I could replace my old NUC home server with this significantly cheaper and more efficient computer. While I was at it, I figured this was a good time to try out MicroK8s, and use KubeSail to version and template my configurations, so the next time I upgrade my apps, setup would just be a few clicks.
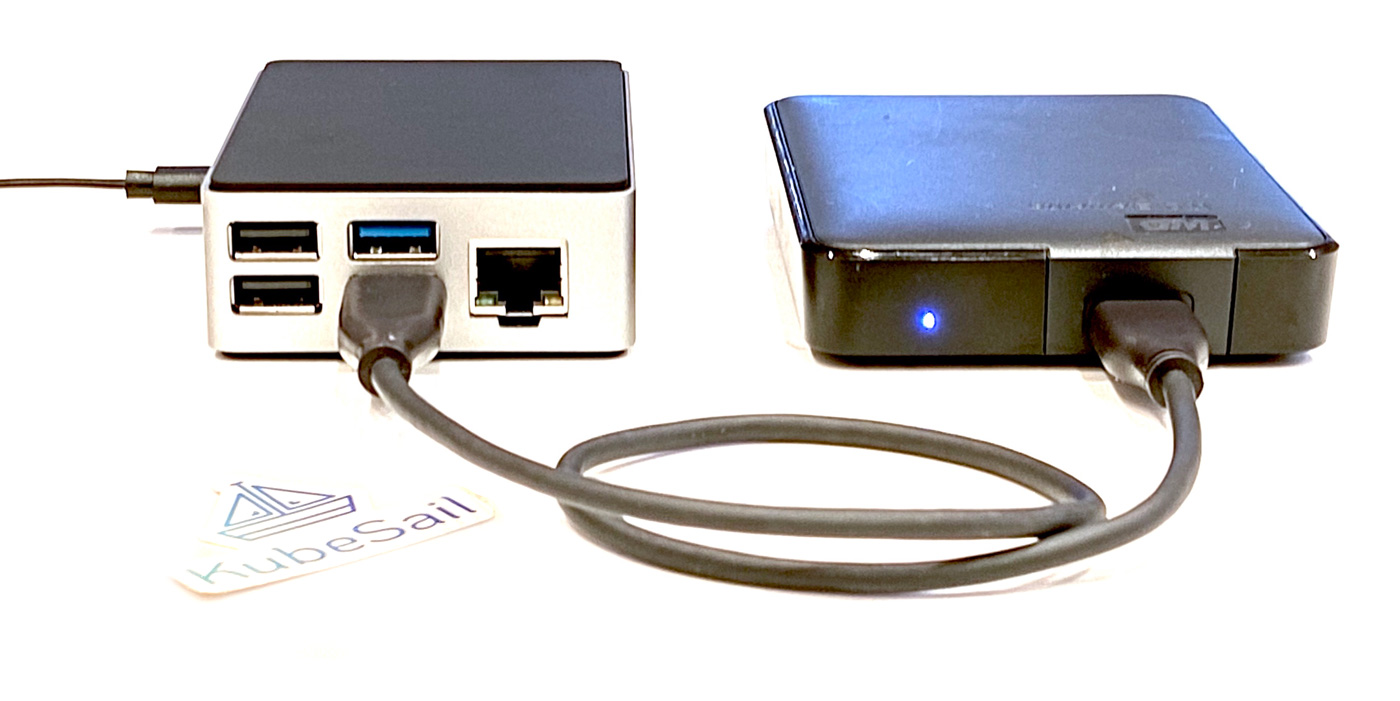
With the Pi in hand, lets get started!
Prepare an SD Card
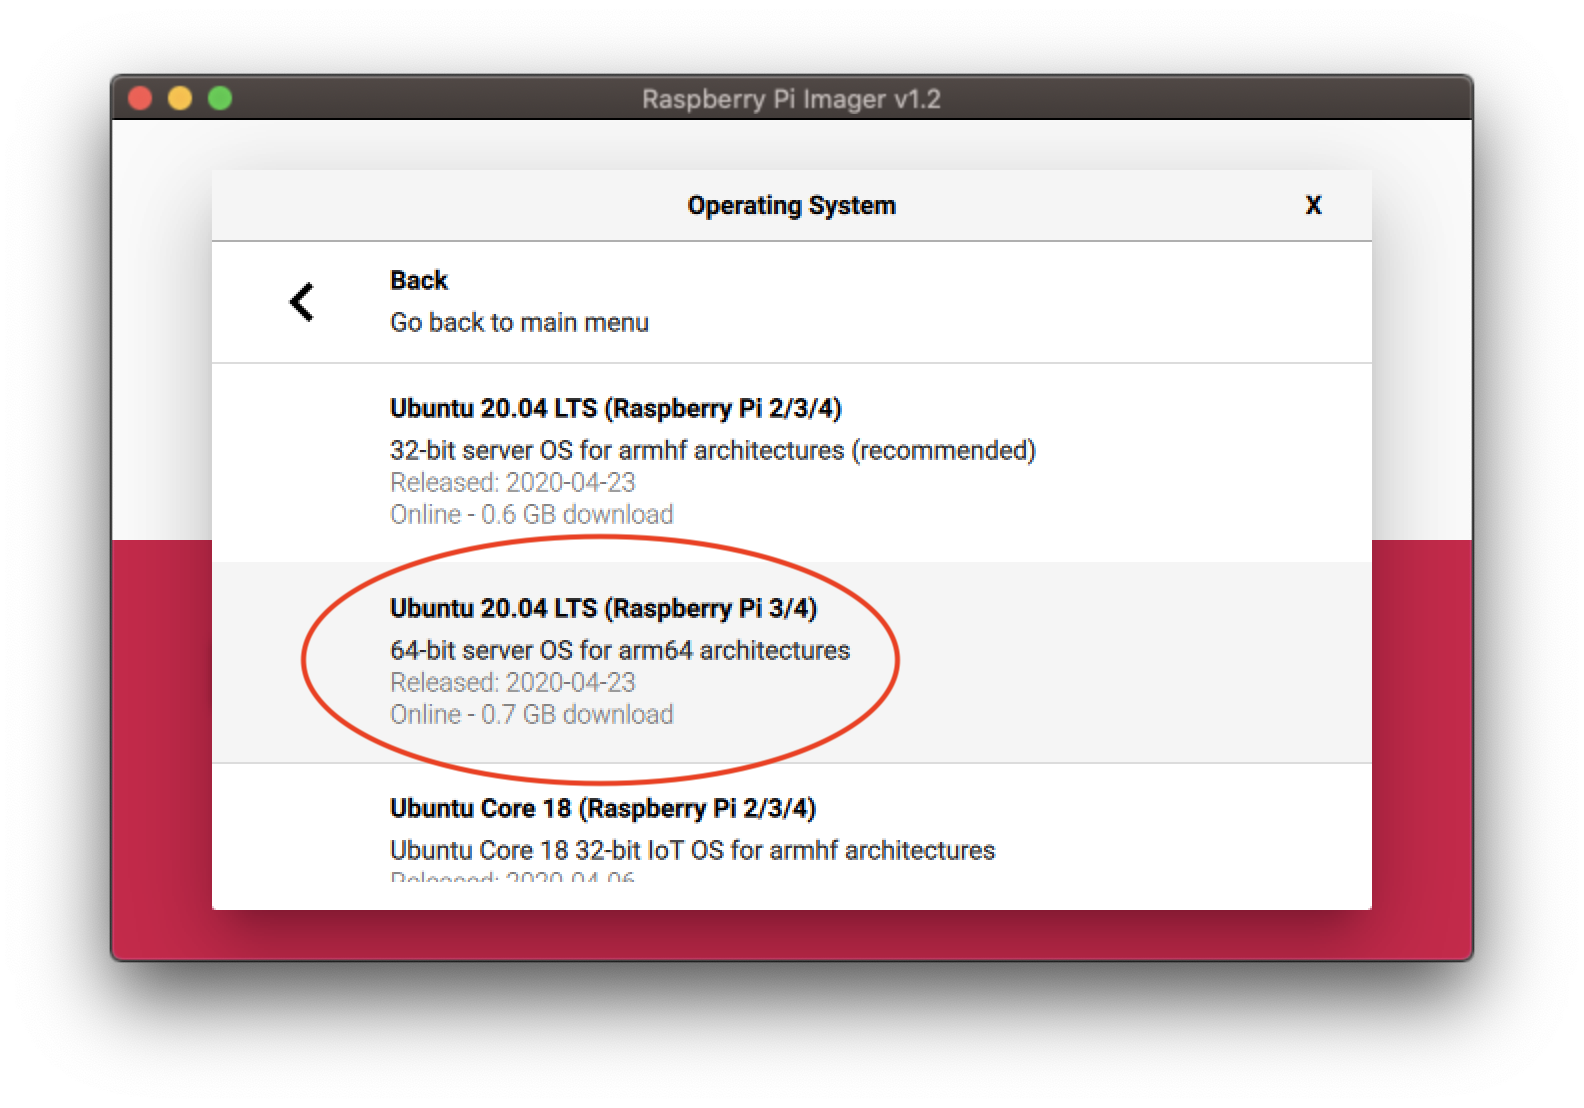
There are multiple ways to get an operating system on your SD card, but the easiest is to download the Raspberry Pi Imager to your computer, select Ubuntu 64-bit, and hit "write". I recommend getting the latest version of Ubuntu that is available (Ubuntu 20.04 LTS - 64 bit, as of this writing). This process will take about 5 minutes. ☕
NOTE: If you are connecting your Pi via Ethernet, you can now insert the SD card into the Pi, power it on, and skip the WiFi section. Otherwise don't remove your SD card from your computer yet!
Setting up WiFi
If you plan to connect your pi via Wi-Fi, you'll want to configure these network details on the SD card before you power on your Pi. Open the file called
network-config on the root of the drive. You'll see a section called wifis that you'll want to uncomment (remove the #'s) and update with your network's SSID and password.At the end that file should look something like this, assuming your network is named
My WiFi Network:You can now take your SD card out, insert into the Pi, and power it on.
Log in to the Pi
The Pi should register its hostname with your router, so you'll likely be able to
ssh ubuntu@ubuntu
If that fails with an error like
Could not resolve hostname ubuntu then you'll need to log into your router and find the IP of your Pi. In that case, you'll login via ssh ubuntu@<YOUR_PI_IP_ADDRESS>The initial password is
ubuntu, which you'll need to change on first login. Once you're in, you can install microk8s:sudo snap install microk8s --classic
The Raspberry Pi needs a small boot configuration change to enable cgroup memory, otherwise Kubernetes will never become Ready. We will also enable DNS and Storage, which many images depend on.
sudo sed -i '${s/$/ cgroup_enable=cpuset cgroup_enable=memory cgroup_memory=1/}' /boot/firmware/cmdline.txt
sudo microk8s.enable dns storage
sudo reboot now
Once the Pi reboots, we'll need to ssh back into the machine. Once we're in, let's see which machines are in our cluster by running
sudo microk8s.kubectl get nodes
This may take a minute while the pi starts up all the software that powers Kubernetes. Eventually you should see
NAME     STATUS   ROLES    AGE   VERSION
ubuntu   Ready    <none>   95m   v1.17.0
Yay! We now have one node in our cluster (the Raspberry Pi itself). We could add more machines in the future, but for now we will run this as a single-node cluster. A
Ready status means that Kubernetes is up and running, ready to deploy any software we want!Connect KubeSail
This step makes it much easier to manage the configurations in the next steps. If you haven't already signed up for KubeSail, do that now. Its free and just requires a GitHub account to register. Then, to manage your raspberry pi from the KubeSail dashboard, just run
sudo microk8s.kubectl create -f https://byoc.kubesail.com/$YOUR_KUBESAIL_USERNAME.yaml
Your Pi will appear as a new cluster for you to manage in the KubeSail Cluster Dashboard.
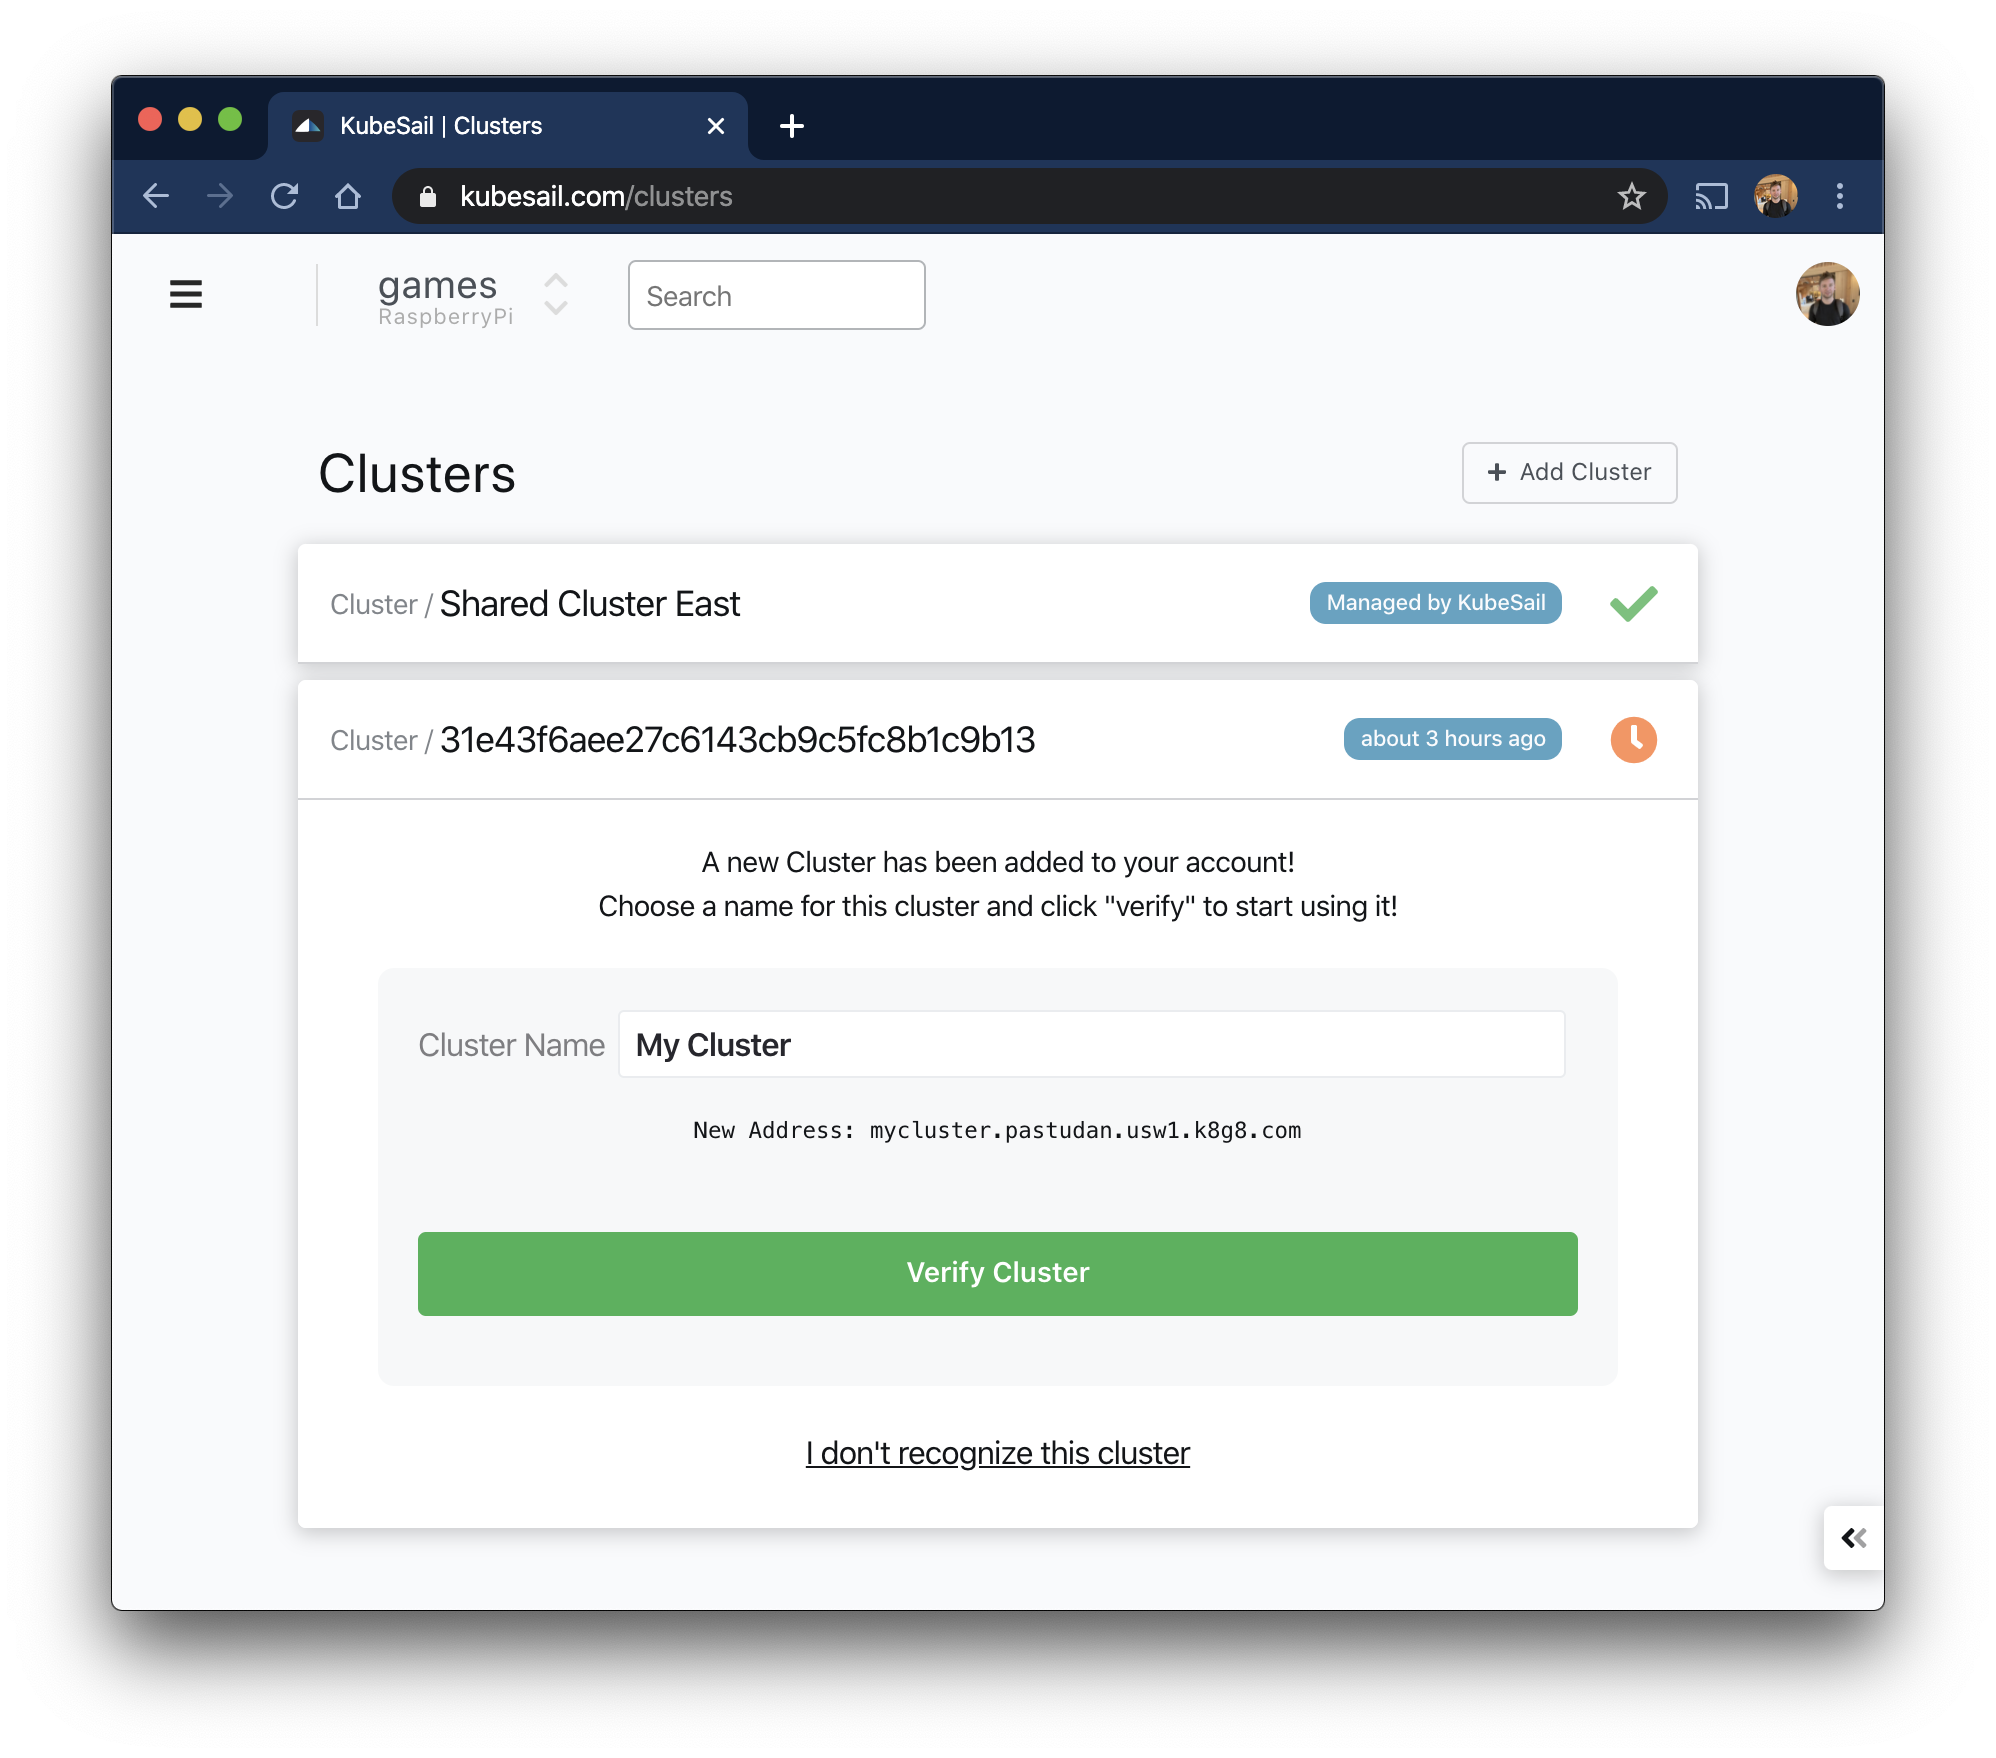
Once you have verified your cluster, you can manage all the software running on your Raspberry Pi using the KubeSail dashboard.
Deploy software
Finally to the fun stuff! Lets start by deploying an rTorrent Docker image.
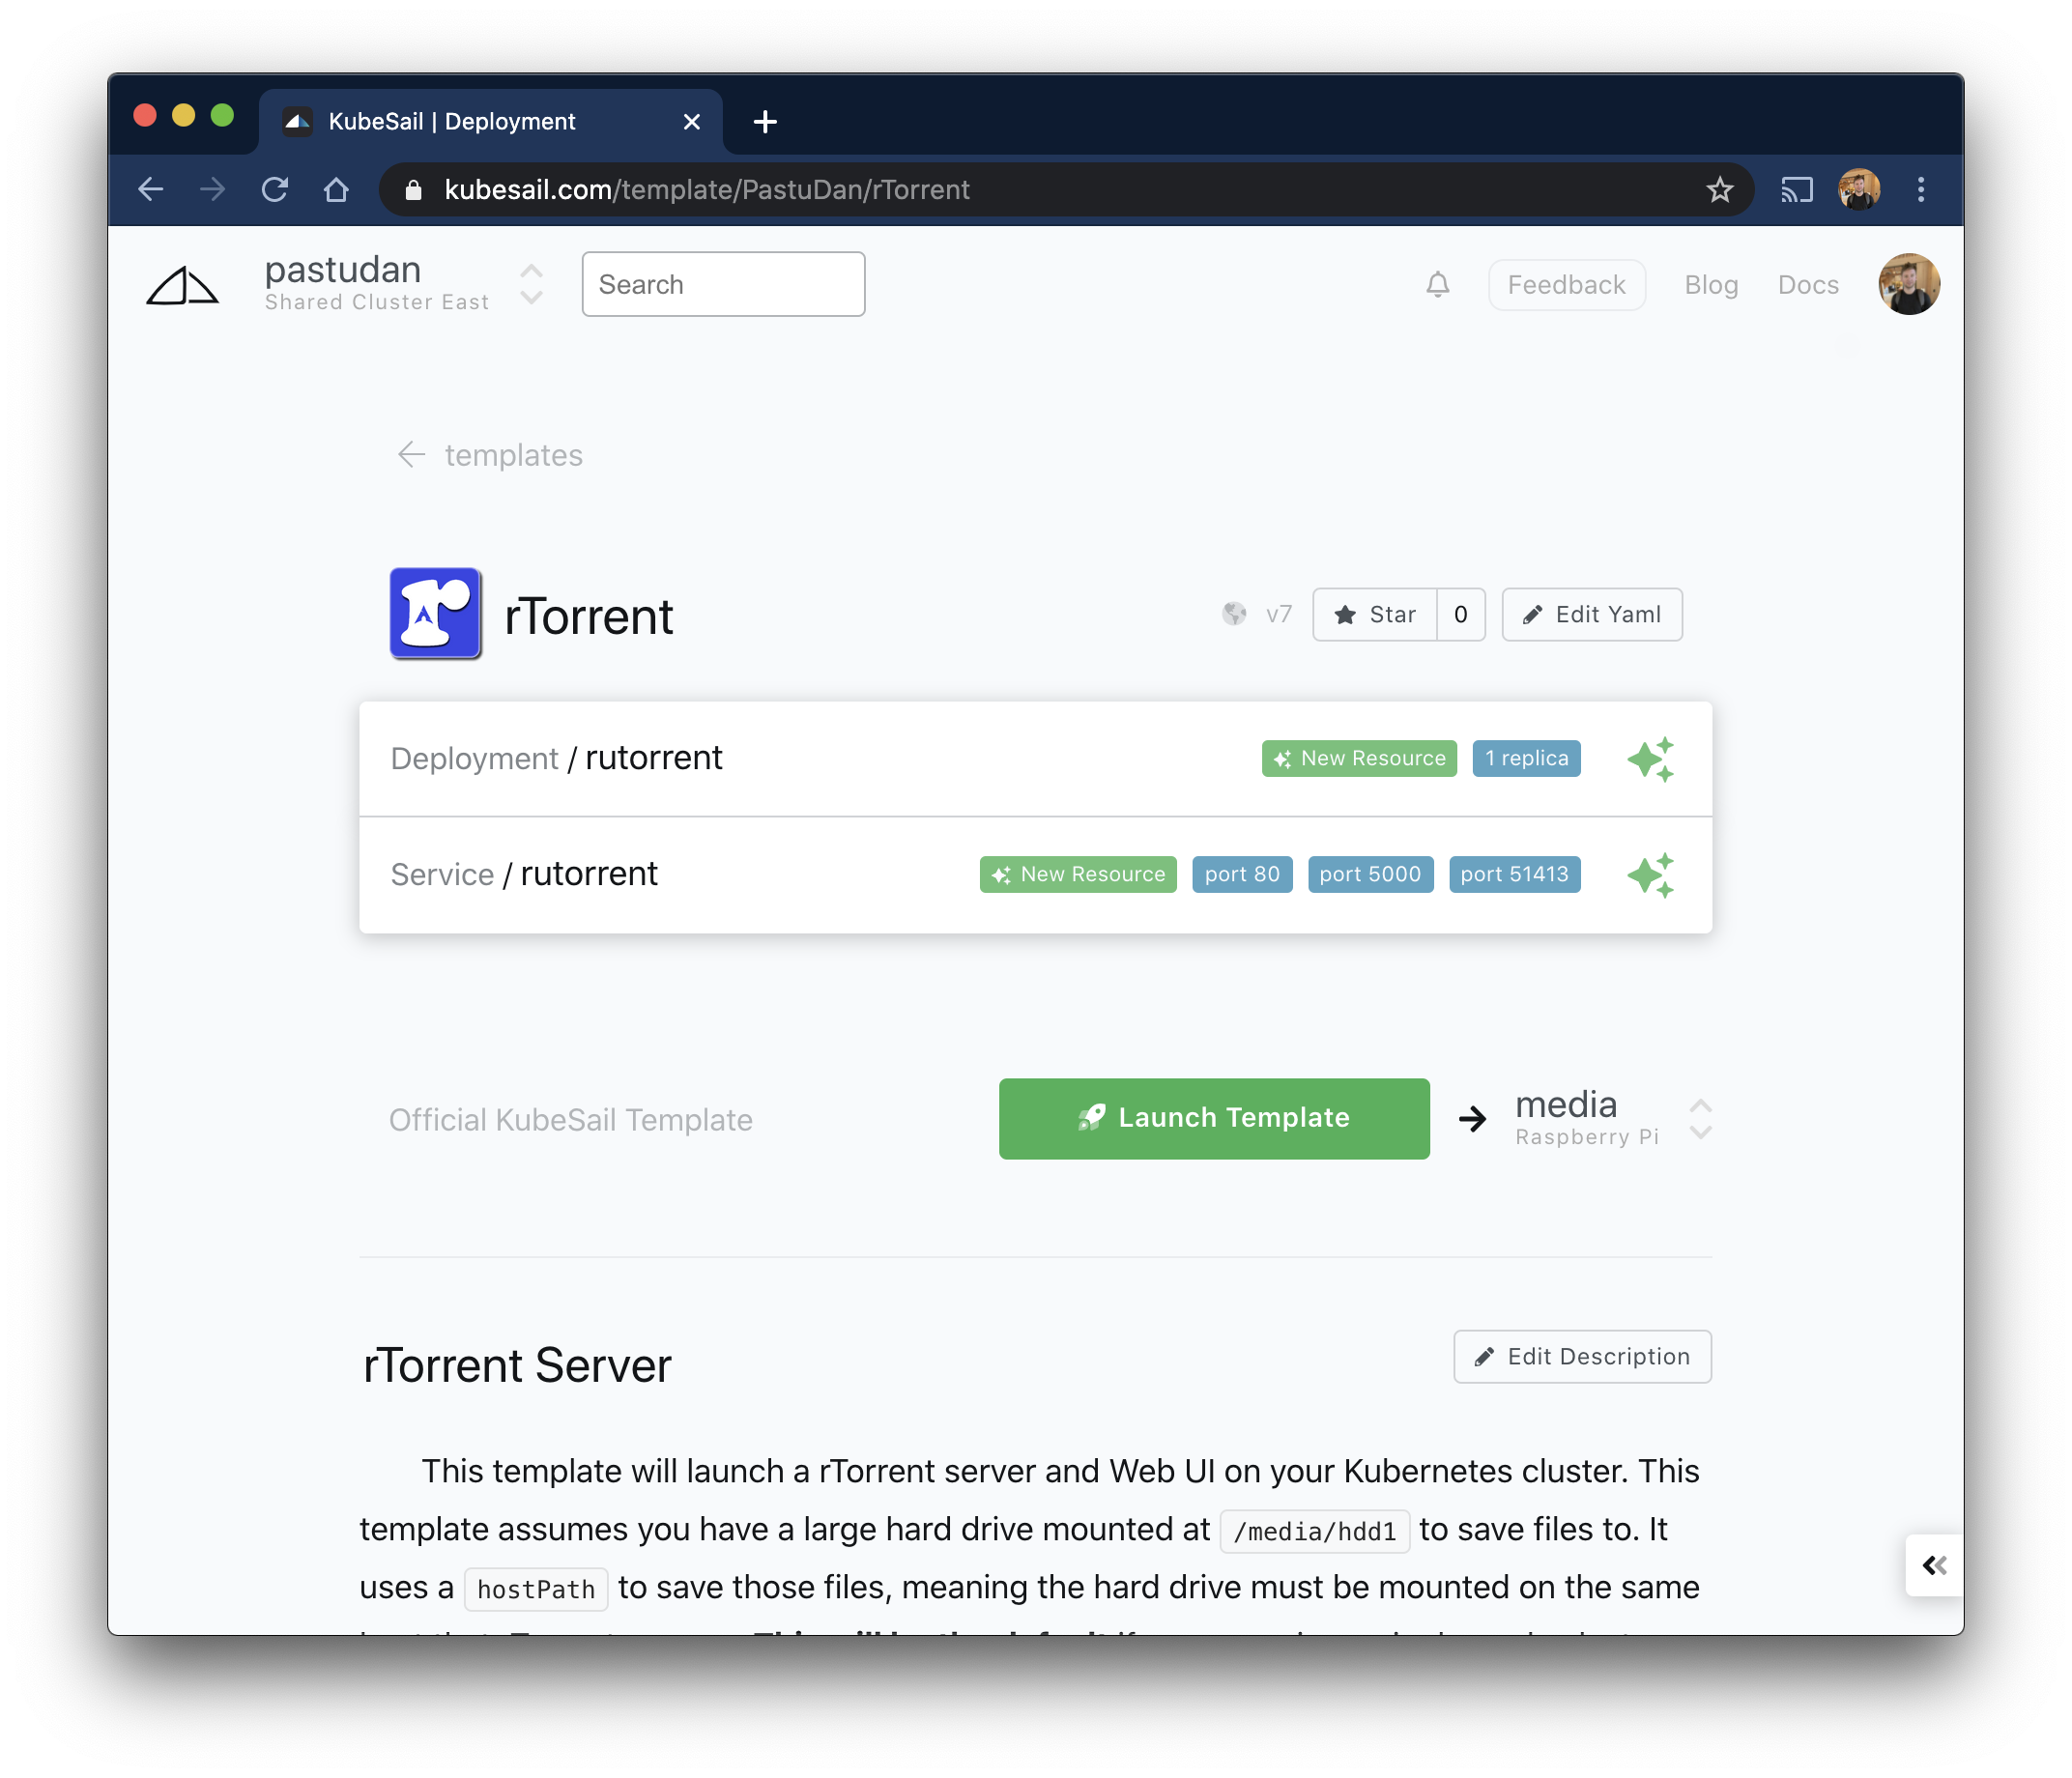
At this point, most tutorials will give you some YAML files to apply to your cluster. But in our case, we're going to use KubeSail to apply the rTorrent template directly to your cluster. Templates let you see the resources that will be created in the UI (or as YAML), and gives you the flexibility to fork and edit them before applying.
Once you've applied the template to your cluster, you can run
sudo microk8s.kubectl get deployments,services
and output should look like this:
NAME                        READY   UP-TO-DATE   AVAILABLE   AGE
deployment.apps/rutorrent   1/1     1            1           28m

NAME                 TYPE        CLUSTER-IP       EXTERNAL-IP   PORT(S)                                       AGE
service/kubernetes   ClusterIP   10.152.183.1     <none>        443/TCP                                       3h30m
service/rutorrent    NodePort    10.152.183.206   <none>        80:30001/TCP,5000:30002/TCP,51413:30003/TCP   28m
Note the port mapping — If you navigate to http://ubuntu:30001 you should see the rutorrent dashboard running! Remember that
ubuntu may not work as a hostname depending on your router. If this is the case, replace it with the local IP of your Raspberry Pi.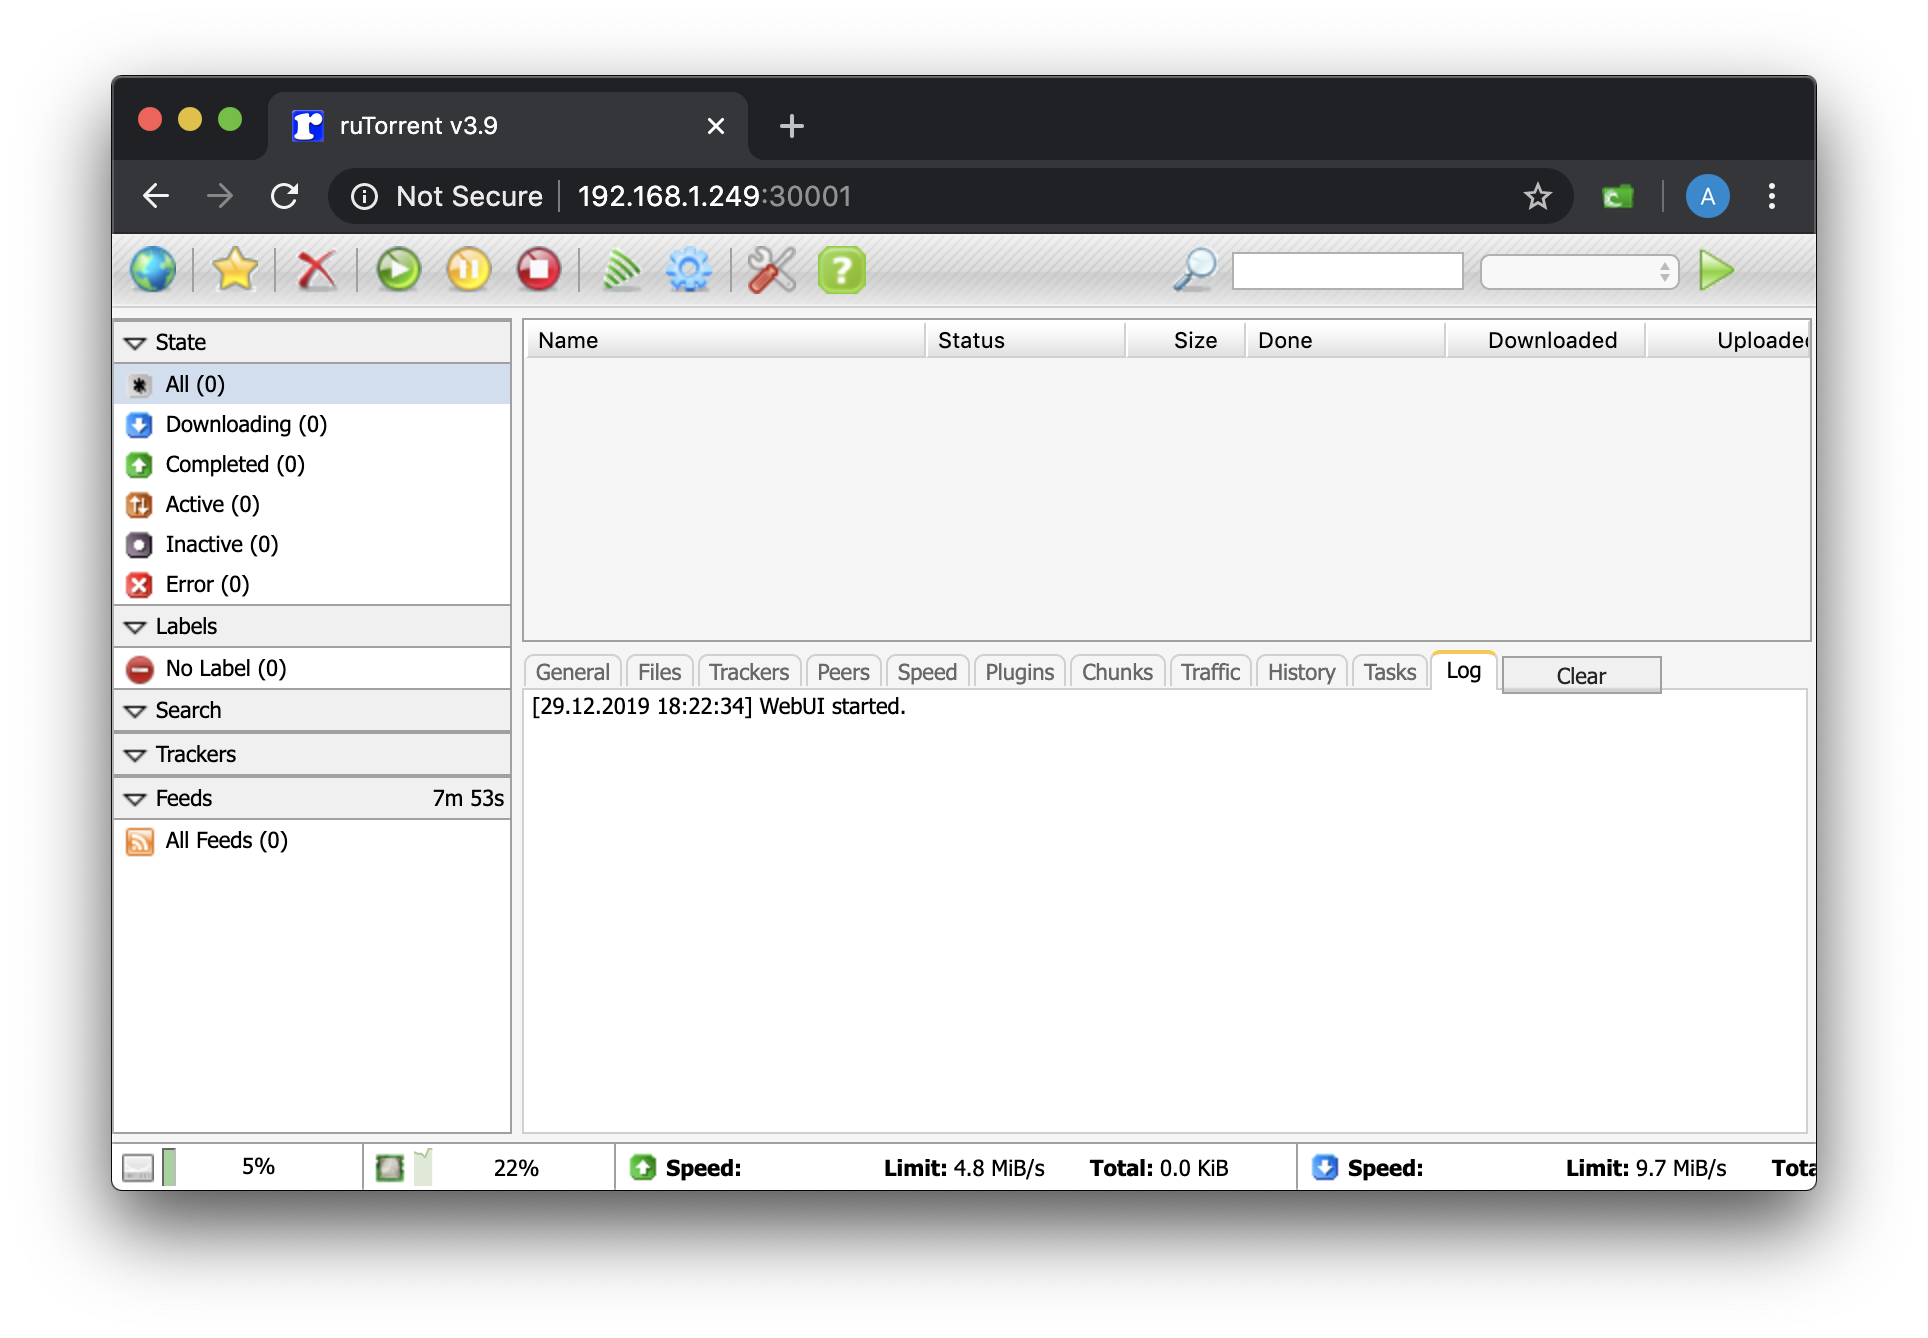
If your deployment shows0/1underREADY, you can troubleshoot it usingkubectl describe deployment/rutorrent. Most likely, Kubernetes is taking a while to download the large Docker image.
Access from the Internet
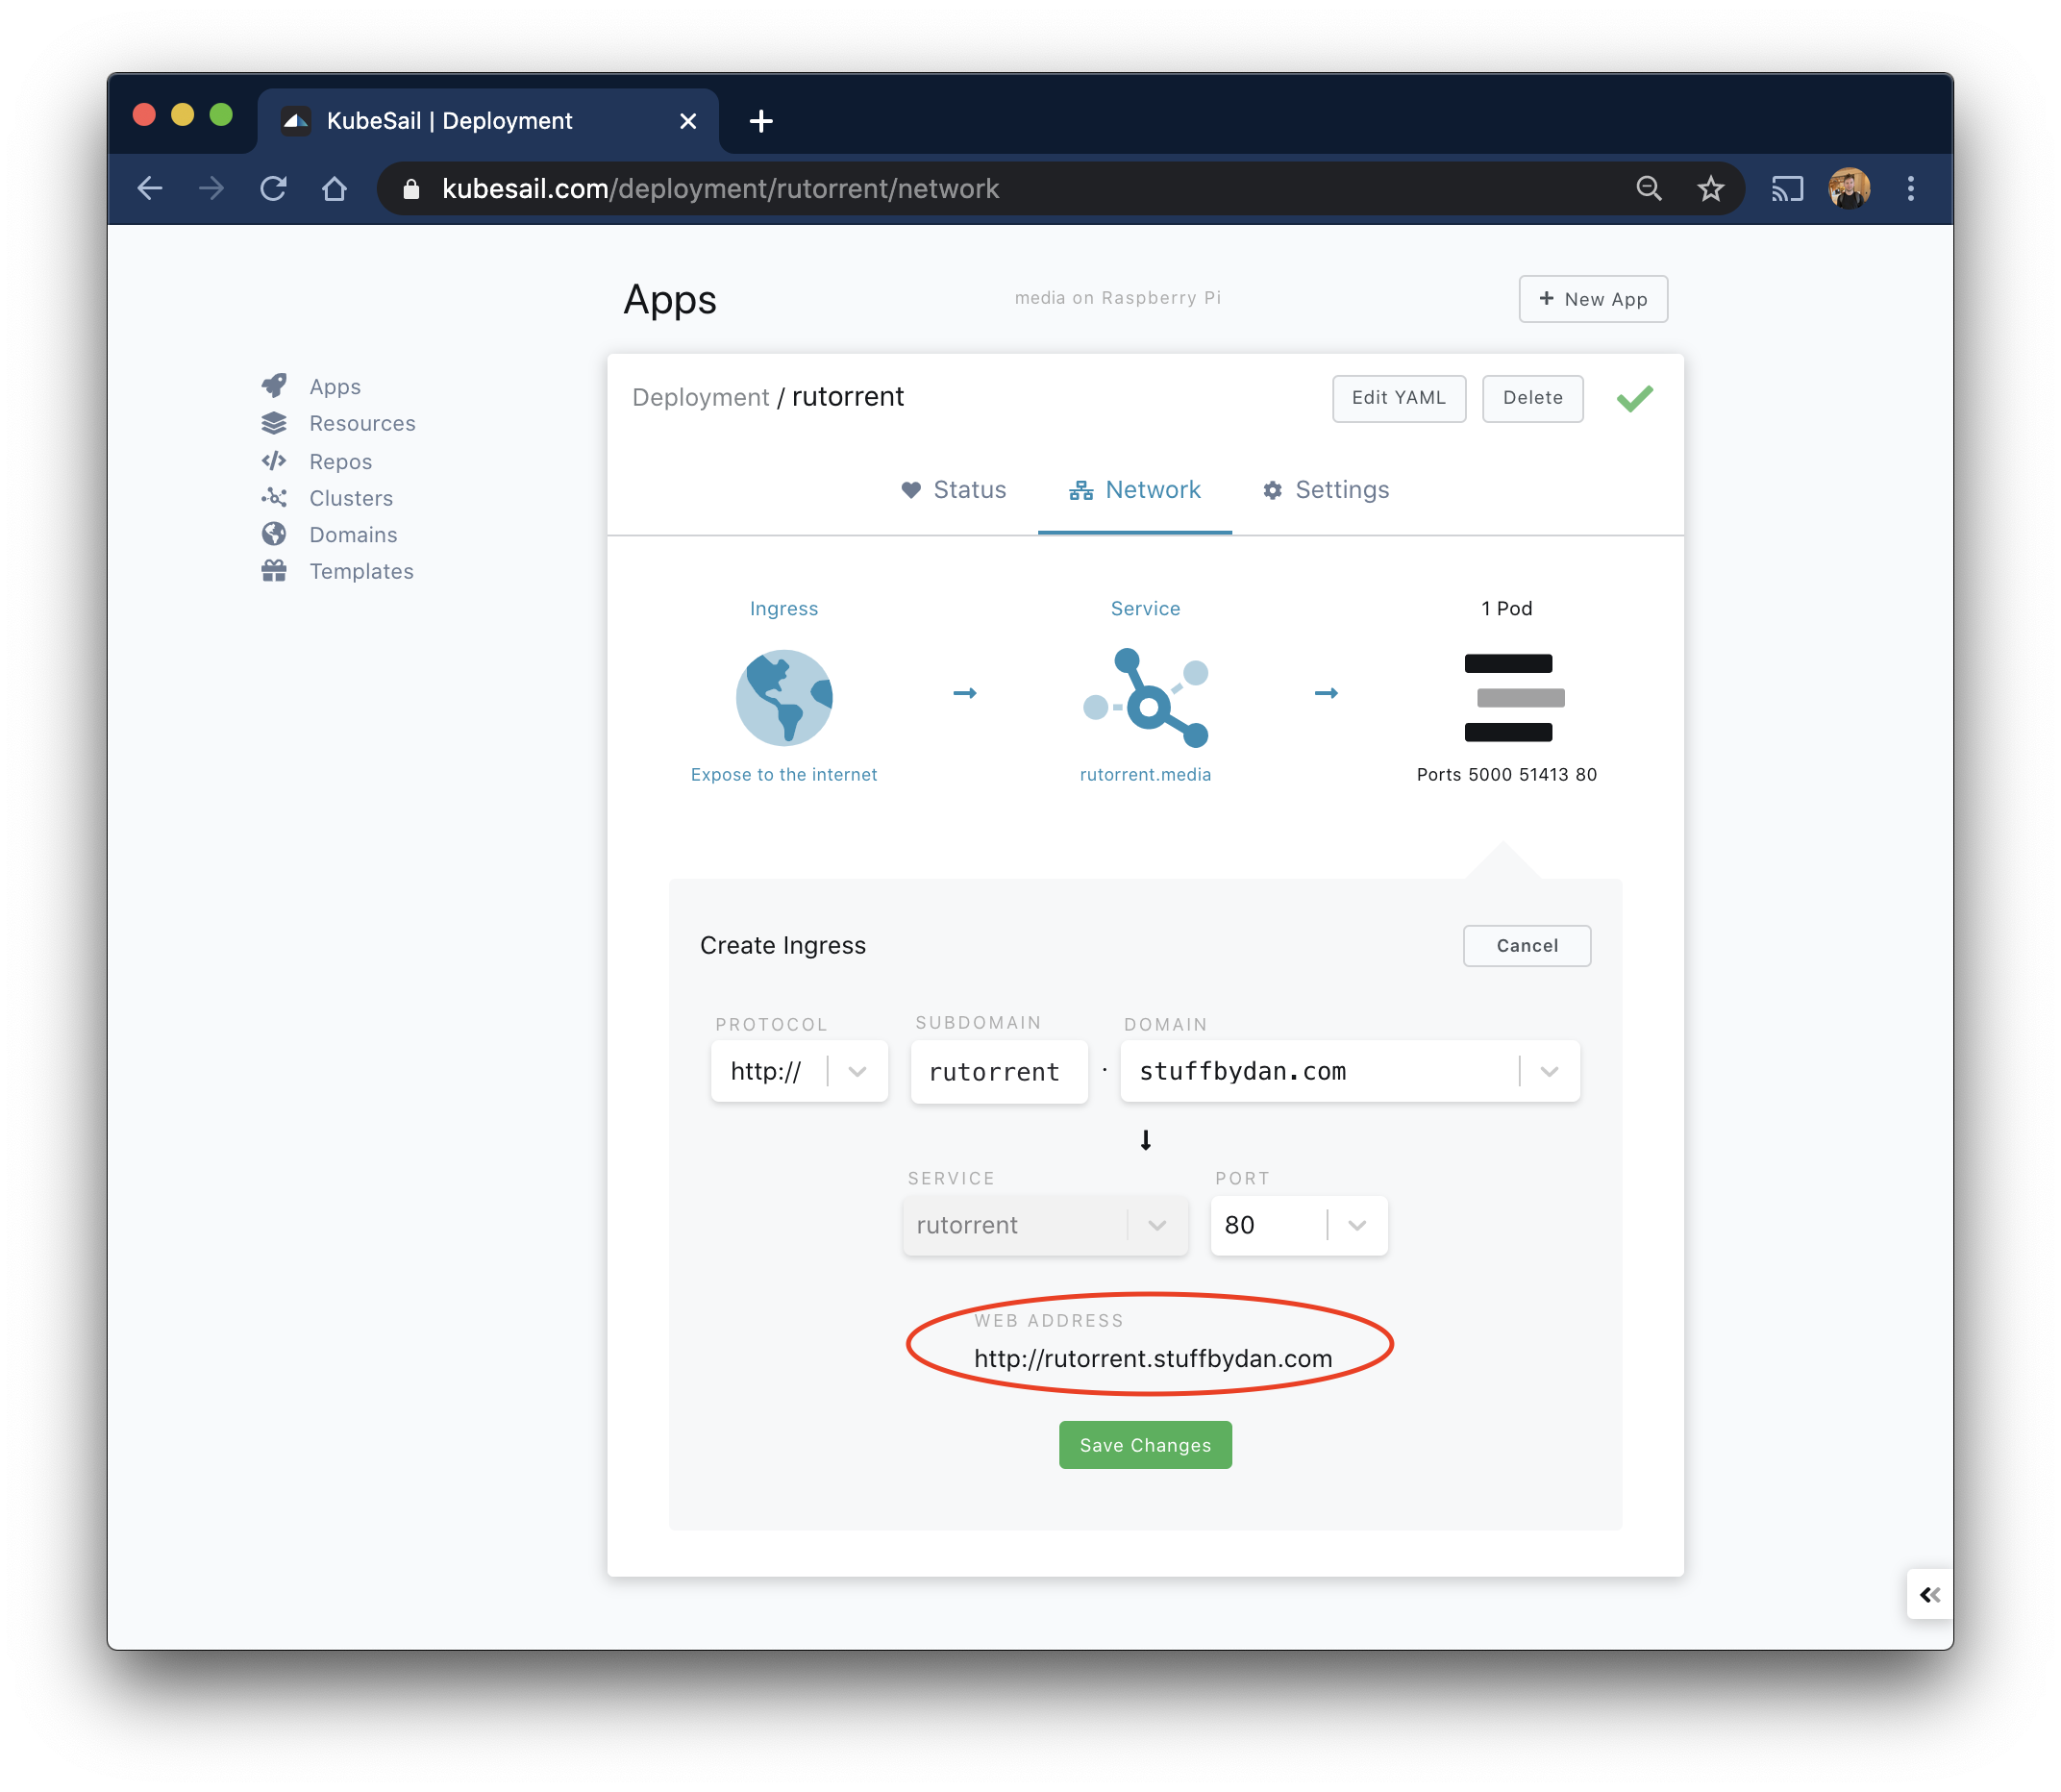
If you want to access your rTorrent dashboard from the internet, KubeSail allows you to expose HTTP services, on any domain name, even behind your firewall. However, before you do that you may want to secure your dashboard with a username / password. For now, we'll leave this exercise up to the reader, but if you'd like a Part II article showing how that can be achieved on Kubernetes, drop us a line in our Discord support room!
Browse more templates
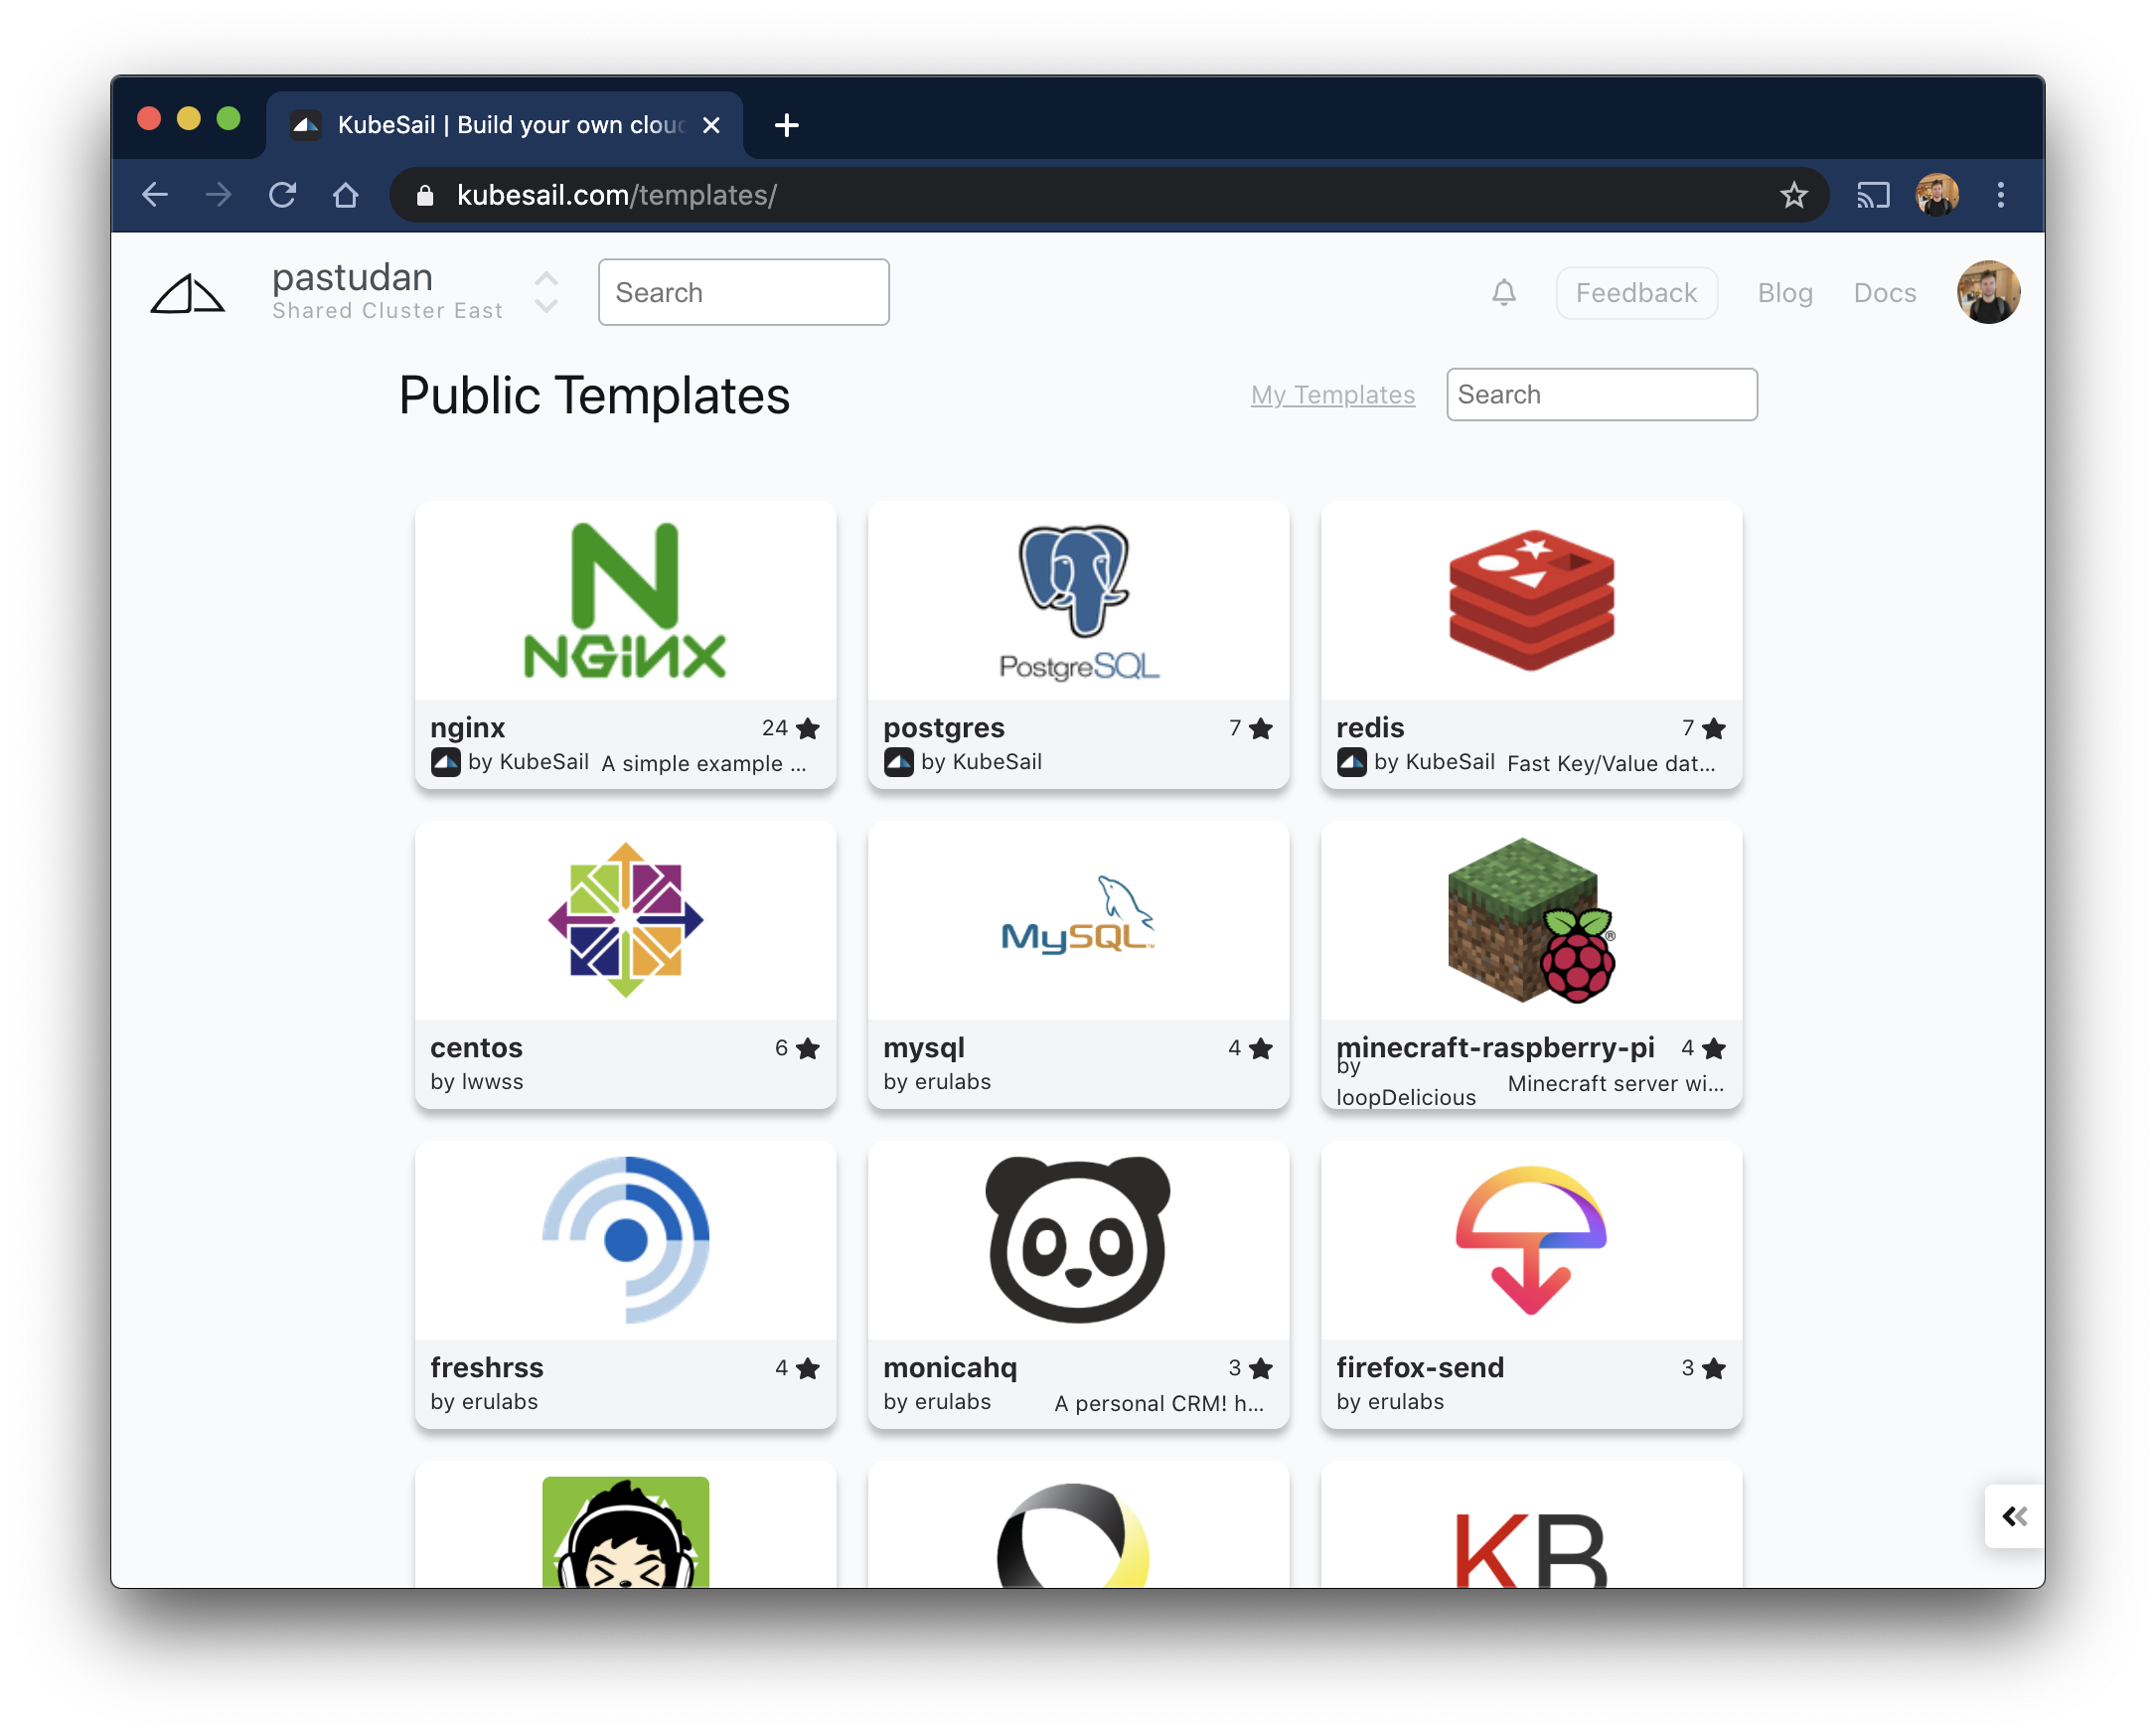
KubeSail has a growing library of public templates which can be created by you or anyone in the community. Head over to the Template Registry to browse public templates. Everything you'd want to self-host, from Plex Server to Postgres, can be found there.
Publish your templates
If you have software you self-host, consider sharing it with the community by copying your Kubernetes configs into a new template and clicking the "Save Template" button.
Stay in the loop!
Join our Discord server, give us a shout on twitter, check out some of our GitHub repos and be sure to join our mailing list!

